Why do you need it?
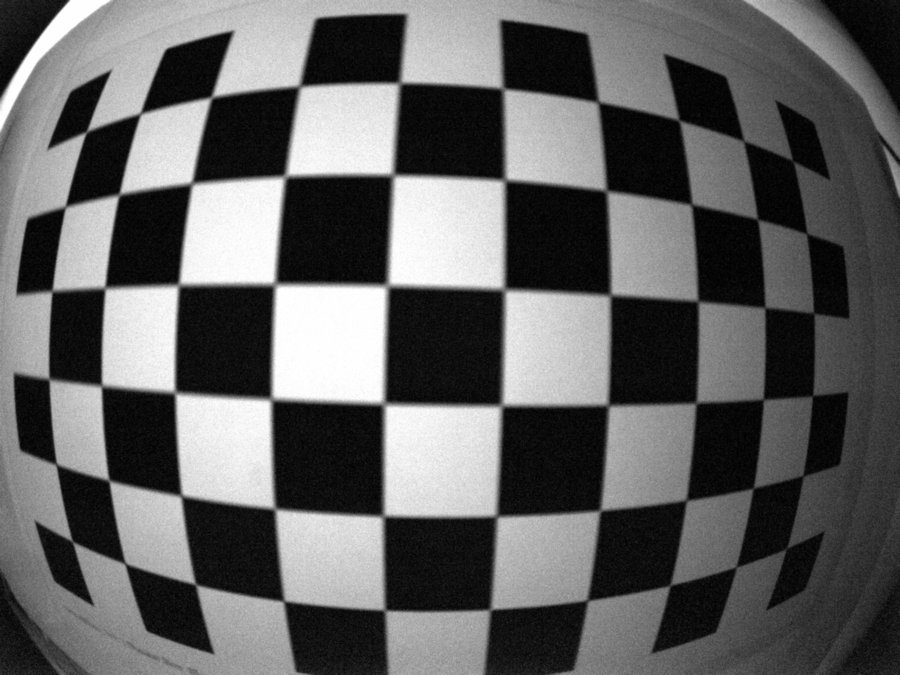
Many modern cameras, that you can choose for robotic project, may have the very unpleasant property – distortion. It means the all images from camera will be deformed, like on this images:
from Basler dart camera:
from oCam-1MGN-U Plus camera:
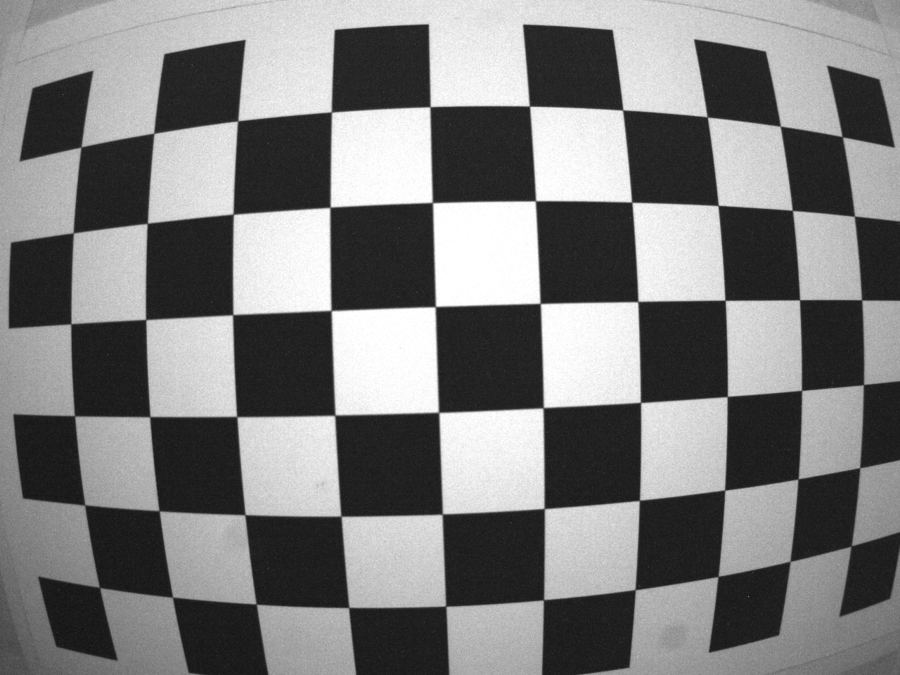
Easy to notice that the lines aren’t straight and parallel, so with the calibration we can mitigate it.
Additional very important point: with the camera calibration we can get the camera’s parameters, that required for computer vision algorithms like marker detection and pose estimation.
Tutorials
On the web you can find a plethora of tutorials about how to do a calibration. Like this and this from OpenCV’s wiki. If you are using ROS, much more easy is take the advantages of camera calibration package. It doesn’t require to write any code and it has ready to use interface, but I’ll add some comments to it bellow.
Pattern
You can’t do a calibration without a pattern. There are many of them, but we need a classical checkerboard. You can use the already generated pattern from camera calibration tutorial, but if you need larger or smaller pattern use this the amazing camera calibration pattern generator. Just remember, that camera_calibrator uses interior vertex points of the checkerboard: if you have a pattern with size 10x8, you should decrease by one both sides to pass it to the --size parameter. For 10x8 pattern it would be --size 9x7.
After you printed the pattern, you have to fix it on the flat and rigid surface. Try to stretch the pattern to make it more smooth and avoid wrinkles.
Troubleshooting
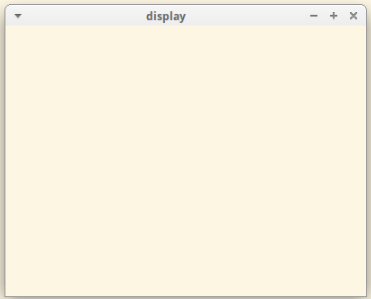
The first time I’ve opened the interface of cameracalibrator.py it shown me nothing, but blank window. I’ve fixed it only after I explicitly installed Qt.
Also, keep in mind that a time of calibration grows proportionally with a count of shoots, that camera_calibrator made while accumulating data. So, after you press “CALIBRATE” button the interface can hangs up for a quite long time, e.g. about 20 minutes. Just wait till it finishes.
YAML file with camera parameters
After the calibration is done and the all parameters are calculated you can press on the “SAVE” button. It’ll save all photos and a file with the camera parameters. Now you can extract this file and feed it to your camera driver, like usb_cam or pylon_camera, and particular OpenCV methods, like solvePnP.
But remember, if you change any real camera’s parameters (like focal length, resolution or center of image), you need to recalculate camera parameters, that we get after calibration. Some of them can be recalculated without recalibration, but some can’t. Without it you can get a system that looks like working, but actually it’ll get you wrong estimations, so be careful.