Background
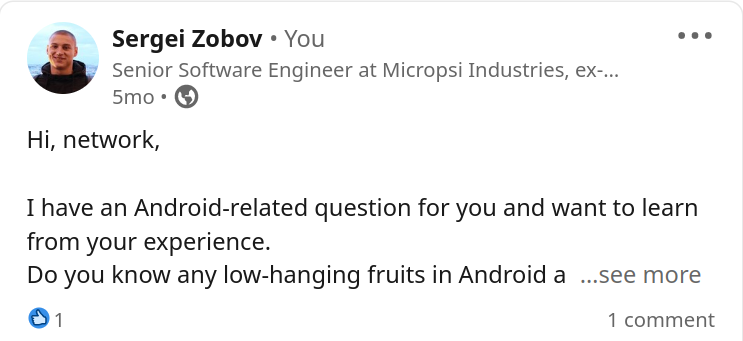
A few months ago, I asked a question on LinkedIn:

Unfortunately, it didn’t attract much attention, and I still wondered. In my current company, we use an Android application as a frontend to our complex backend system. This Android application is the first and only user-facing, so we needed a tool to ensure its quality.
Before I joined, it was almost always manually tested, but the problem of this approach could be more scalable. We needed automated tests but wanted to avoid getting into the Kotlin/Java code to write them.
Our objective was: we need a tool to write automated tests which don’t require Android/Java/Kotlin knowledge.
Available options
We did initial research on the possible solution. I’m unsure if it’s a complete list, but these are the things we’ve found:
- screenshot-tests-for-android – a snapshot testing testing tool, but a little unflexible if UI of your application changes often. Also, it requires integration in the source code of the application.
- BrowserStack – a cloud-based platform to run tests on real or virtual devices. It seems like a powerful instrument, but vendor-locking, recurrent subscription and complexity make us hesitant to try it. On its own, it doesn’t provide a test framework but supports running many.
- Espresso – Android UI test framework. Again, this requires integration with the source code and Kotlin/Java knowledge.
- Appium – as stated in the docs: “is an open-source project and ecosystem of related software, designed to facilitate UI automation of many app platforms”. It is a complex UI test framework that can run on different platforms: physical, virtual devices or BrowserStack. We tried to run a setup, but it didn’t feel easy and required many integration steps.
- Maestro – The first sentence in the docstrings stated: “is the simplest and most effective mobile UI testing framework.”, which made me a little sceptical, but after we tried it turned out to be our choice. I’ll describe it in detail in the next section.
Maestro
It is a rather new and relatively obscure tool. I found the first mentioning on hackernews dates Aug 31, 2022.
We chose this tool over the other since:
Simple Language
The language of writing tests is simple DSL written in YAML files. The language is simple but capable of expressing complex flows. This is the first example we wrote for our testing:
appId: com.mirai.app
---
- launchApp
- extendedWaitUntil:
    visible: "Skill Overview"
    timeout: 70000 # ms (eq 70 sec)
- assertVisible:
    text: "Add new skill"
    enabled: true
You can see that it’s very descriptive. All the commands cover what I usually do when I use our application. Also, it’s possible to express loops and importing from other files. You may say it’s relatively too simple, but in my personal feelings, complicated language leads to cumbersome and often hard-to-maintain tests.
Decoupled from the Application
Maestro setup knows nothing about your application.
All app-specific logic is expressed only in the tests themselves. Maestro only starts the application as a user does it and then runs a flow of commands against it. You can change the language your mobile app is written in, change your build system, and do whatever you want – as long as the interface is the same, your maestro tests will stay as they are.
Decoupled from the Hardware
You can run your tests against a physical device or emulator.
For our setup, I built a Docker Image based on docker-android.
Speaking frankly, it required a small tests update to increase the timings since the application in the emulator works slowly, but I would say it’s expected.
However, the apparent benefit of wiring up these tools is that it is a perfect setup for your CI pipeline.
The hardware devices are excellent, but they could be more scalable, or you need to pay cloud providers like the mentioned BrowserStack. But with Docker, you can run as many instances of the simulator as could fit into your CI server.
Click-to-test UI
Maestro includes a browser-based UI where you can click and select the elements of your app and convert them to the tests.
I consider it a killer feature since it simplifies the test writing workflow.
Readability
The file with UI tests can overgrow, and needs help comprehending. Maestro support includes code from other files via the runFlow command. You can use label to make tests more self-descriptive with human-readable text.
Downsides
Maestro is a very new tool and is under active development.
Some features need to be documented, and you need to upgrade your installation occasionally.
While I was writing this blog post, I realized that the “labels” I mentioned in the previous topic were reverted and are no longer available. I may predict there could be bugs and breaking changes.
Conclusion
We were pleased to find such a powerful and accessible tool despite all the downsides mentioned. Emulating devices with Docker and running automated tests gave us many opportunities to reduce manual testing time. Now, we can run as many devices as we need and pinpoint bugs earlier.
Disclaimer
I’m not affiliated with any of the mentioned projects.
Acknowledgement
This post is based on my work together with Maria Matyushenko.